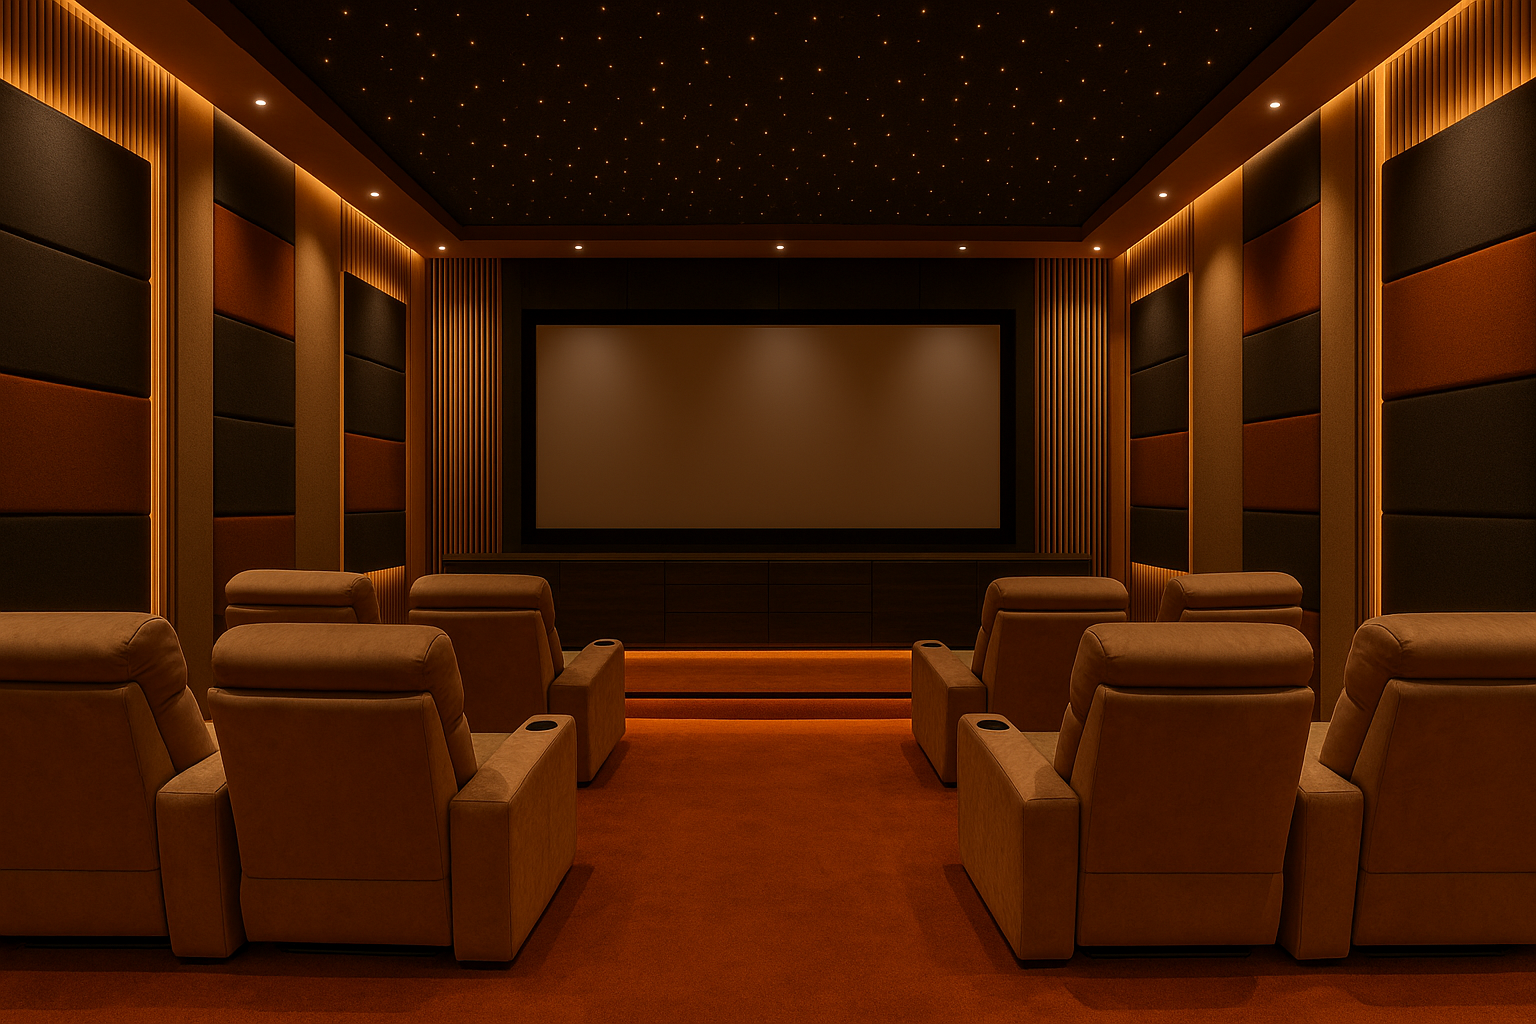
How to Soundproof a Home Theatre Room for Maximum Impact
Create a truly immersive experience with smart sound isolation and acoustic mastery

Introduction: Why Soundproofing Matters in Home Theatres
Building a home theatre is more than installing a projector and speakers. Without proper soundproofing, external noise can seep in, and your cinematic sound can leak out disturbing others in your home or neighbours. True immersion requires isolating your room from the outside world and enhancing sound quality within. In this guide, we’ll walk through how to achieve professional-grade home theatre acoustics at home whether you’re building new or upgrading an existing room.
Understanding the 2 Sides of Soundproofing a Home Theatre
Soundproofing your home theatre involves two essential goals:
- Sound Isolation – Preventing external noise (traffic, family, neighbours) from entering the room and internal audio experience from leaking out.
- Sound Treatment – Enhancing the audio quality inside by controlling echo, reverberation, and bass reflections.
A great setup achieves both quiet on the outside, cinematic brilliance on the inside.
What’s Ruining Your Sound? (Noise Entry Points to Fix)
Even the most expensive speakers won't help if noise leaks through:
- Walls: Common brick and gypsum walls allow vibration and sound to pass.
- Doors: Hollow-core doors and air gaps leak sound heavily.
- Windows: Large glass panels reflect and pass noise.
- Floors/Ceilings: Especially in duplexes or apartments, structure-borne noise transfers easily.
- Corners: Low-frequency bass tends to build up in corners, muddying sound clarity.
Step 1: Build a High-Performance 3-Layer Sound Isolation System
This is the foundation of serious soundproofing.
Layer 1 – Noise Barrier Membrane
A high-density membrane like mass loaded vinyl (MLV) blocks sound from passing through walls and ceilings. It’s slim, effective, and surface-mounted—ideal for retrofitting.
STC Rating > 34dB | Installed with SR Adhesive or Nails.
Layer 2 – Bass Absorption Core
Install thick acoustic underlay such as high-density recycled foam (20mm+) to absorb vibration and structure-borne sound. It prevents wall resonance and reduces low-end boom.
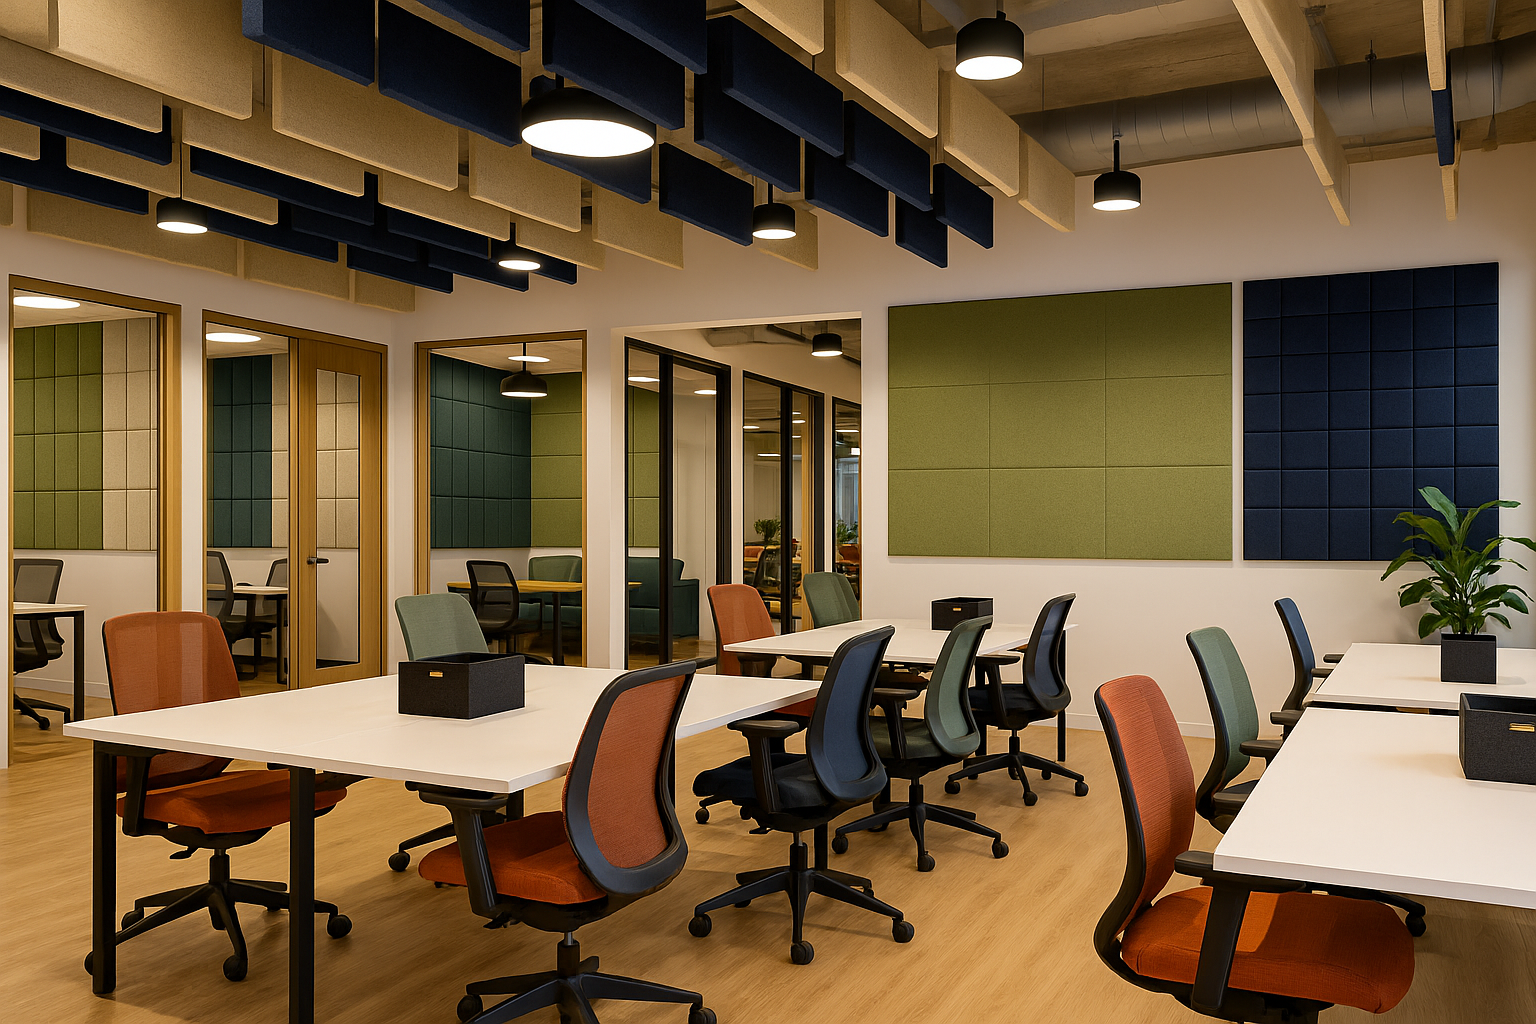
Layer 3 – Finish with Acoustic or Interior Panels
You can finish the surface using:
- PET Felt Panels for clean aesthetics + sound absorption
- Wooden slat panels for luxurious finish and diffusion
- Perforated gypsum or pre-laminated boards if budget is a concern

Step 2: Treat the Room Acoustically for Cinema-Grade Audio
Once isolation is handled, treat internal reflections:
1. Acoustic Foam Panels (Walls & Ceiling)
Choose open-cell foams (pyramid, wedge, etc.) for diffusing mid and high frequencies.
2. Bass Traps (Corners)
Install foam or wooden bass traps in all vertical corners to control low-end boom and improve dialogue clarity.
3. Ceiling Baffles or Clouds
Optional but highly recommended. They reduce echo and create focused audio zones in your seating area.
4. Diffusers (Back Wall)
To avoid a “dead” sound, add wooden or hybrid diffusers on the back wall for natural-sounding reflections.
Step 3: Soundproof Doors & Windows
1. Acoustic Door Seals
Install perimeter door seals and a drop-down bottom seal to close all gaps. Even a 5mm gap can kill your sound isolation.
2. Soundproof Curtains
Install dense multilayer curtains on windows and balcony doors. Ideal for blocking traffic, wind, and light.
Modern vs Traditional: Why You Should Avoid Old Soundproofing Tricks
| Traditional Method | 3-Layer Acoustic System |
|---|---|
| Mineral wool + Sofa foam | MLV + High-Density Foam |
| Covered with low GSM fabric | Finished with tested acoustic panels |
| No performance tests | Certified STC, NRC values |
| Absorbs sound but leaks remain | Isolates & treats sound scientifically |
| Often over-deadens or uneven results | Balanced absorption + diffusion |
Long-Term Benefits: Is Soundproofing Worth It?
- One-time Investment – High-quality systems last 15–20 years.
- Mental Peace – No distractions, no complaints, just immersive audio.
- Better Living – Improves home value, lifestyle, and overall wellness.
- Recommended by Experts – Doctors, wellness designers, and architects now prioritise soundproofing in urban designs.
FAQs
-
Can I do this myself?
Partially – while surface installation is simple, we recommend hiring a carpenter familiar with foam and wood for best results. MMT Acoustix offers free consultation to installers to ensure proper application of our soundproofing systems.
2. Will foam alone help?
Not entirely – acoustic foams only improve internal sound quality by reducing echo and reverb. For true soundproofing or noise isolation, base layers like MLV and dense absorbers are essential. However, for budget acoustic treatment, foams are a great starting point.
3. Is it fire-safe and eco-friendly?
Yes – All our recommended materials are certified fire-rated, non-toxic, and comply with eco-safe standards, making them safe for homes, studios, and commercial spaces.
4. Is it removable?
Yes – Most layers like panels and foams are surface-applied and can be removed or upgraded. With proper installation and care, 80–90% of materials are removable without damaging walls.
5. Will this fix echo and bass issues?
Absolutely – Use a mix of corner bass traps, ceiling clouds, and diffusion panels for a professional acoustic environment. Ideal for recording studios, home theatres, and content spaces.
Conclusion: Silence That Delivers Thunder
Soundproofing a home theatre isn’t about just blocking noise—it’s about unlocking the full potential of your entertainment system. From blocking external distractions to enhancing audio clarity, a smart combination of materials and techniques ensures your room performs at its absolute best.


3 Сomments