TITLE: ACOUSTIC TREATMENT GUIDE FOR HOME STUDIO
Creating a home studio is a dream for many musicians, podcasters, and content creators. However, without proper acoustic treatment, the space may suffer from poor sound quality, unwanted echoes, and noise leakage. In this guide, we'll explore everything you need to know about acoustic treatment for home studio soundproofing, helping you achieve professional-quality audio recordings in the comfort of your own home.
Understanding Acoustic Treatment
Acoustic treatment involves the strategic placement of sound-absorbing materials to control reverberation, minimize reflections, and reduce noise transmission within a room. By optimizing the acoustics of your home studio, you can achieve a balanced and natural sound environment conducive to recording, mixing, and mastering audio.
Key Elements of Acoustic Treatment
-
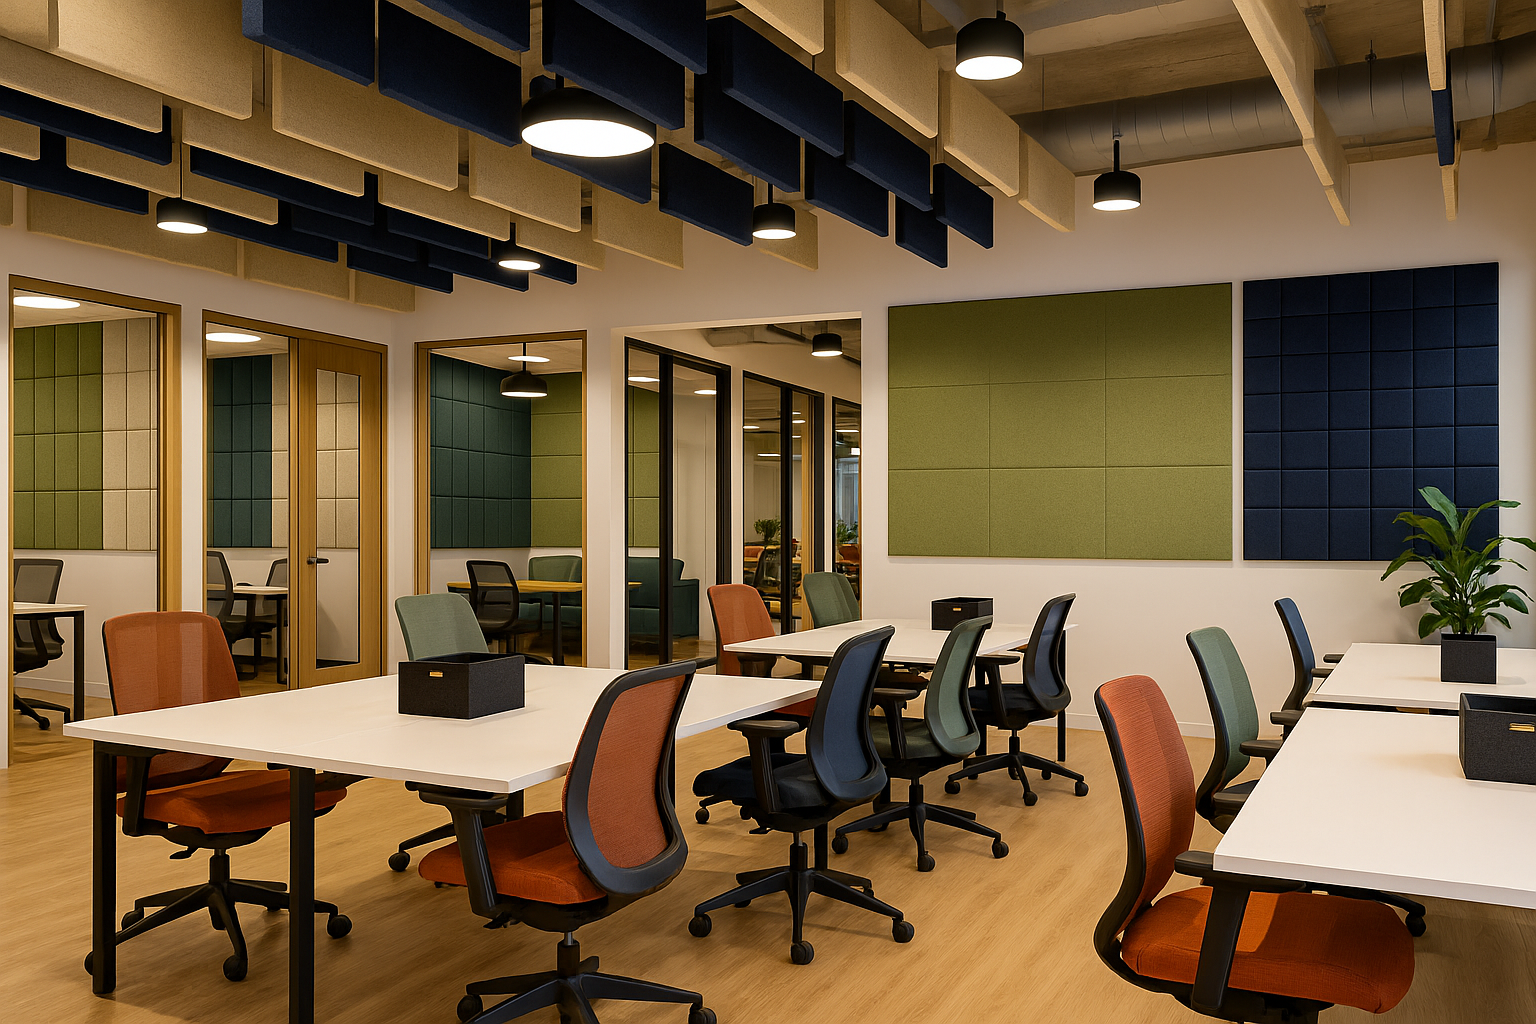
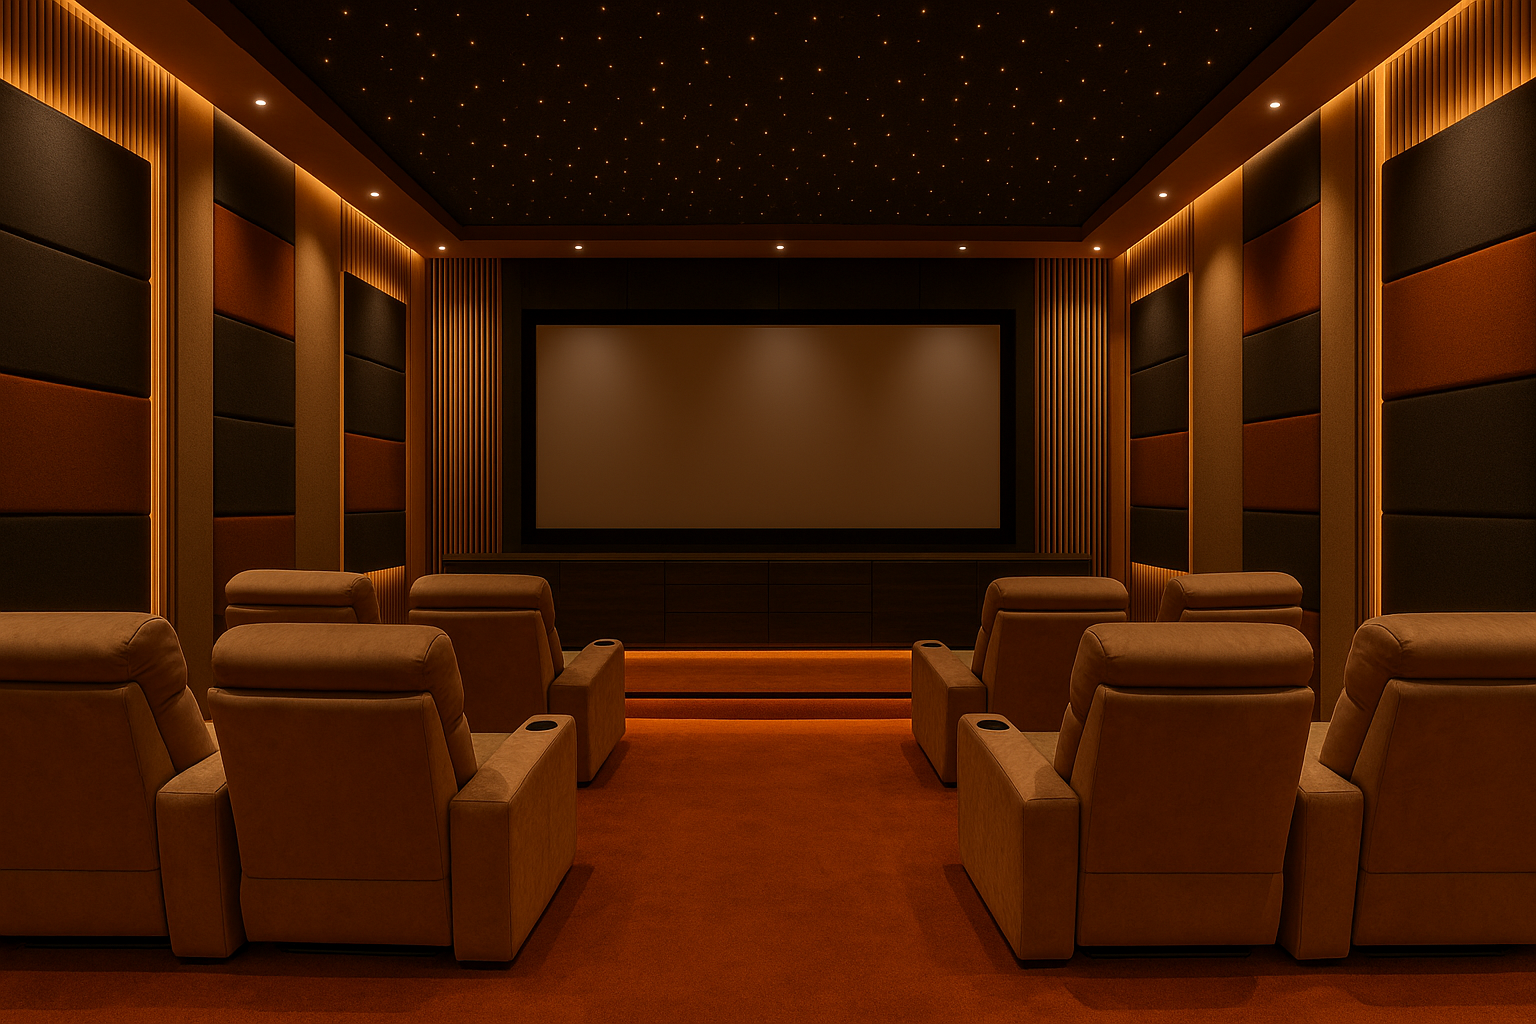
Absorption Panels: Acoustic foam panels or fiberglass panels are commonly used to absorb sound waves and reduce reflections in a home studio. These panels can be mounted on walls, ceilings, and even doors to minimize reverberation and create a more controlled acoustic environment.
-
Bass Traps: Low-frequency sound waves can build up in corners and alcoves, leading to boomy or muddy audio recordings. Bass traps, typically made from dense materials like fiberglass or mineral wool, help absorb these low-frequency waves, improving clarity and definition in the low end of your recordings.
-
Diffusers: Unlike absorption panels, which absorb sound energy, diffusers scatter sound waves in various directions, helping to create a more natural and balanced acoustic environment. Diffusers can be particularly useful in larger home studios or rooms with irregular shapes.
-
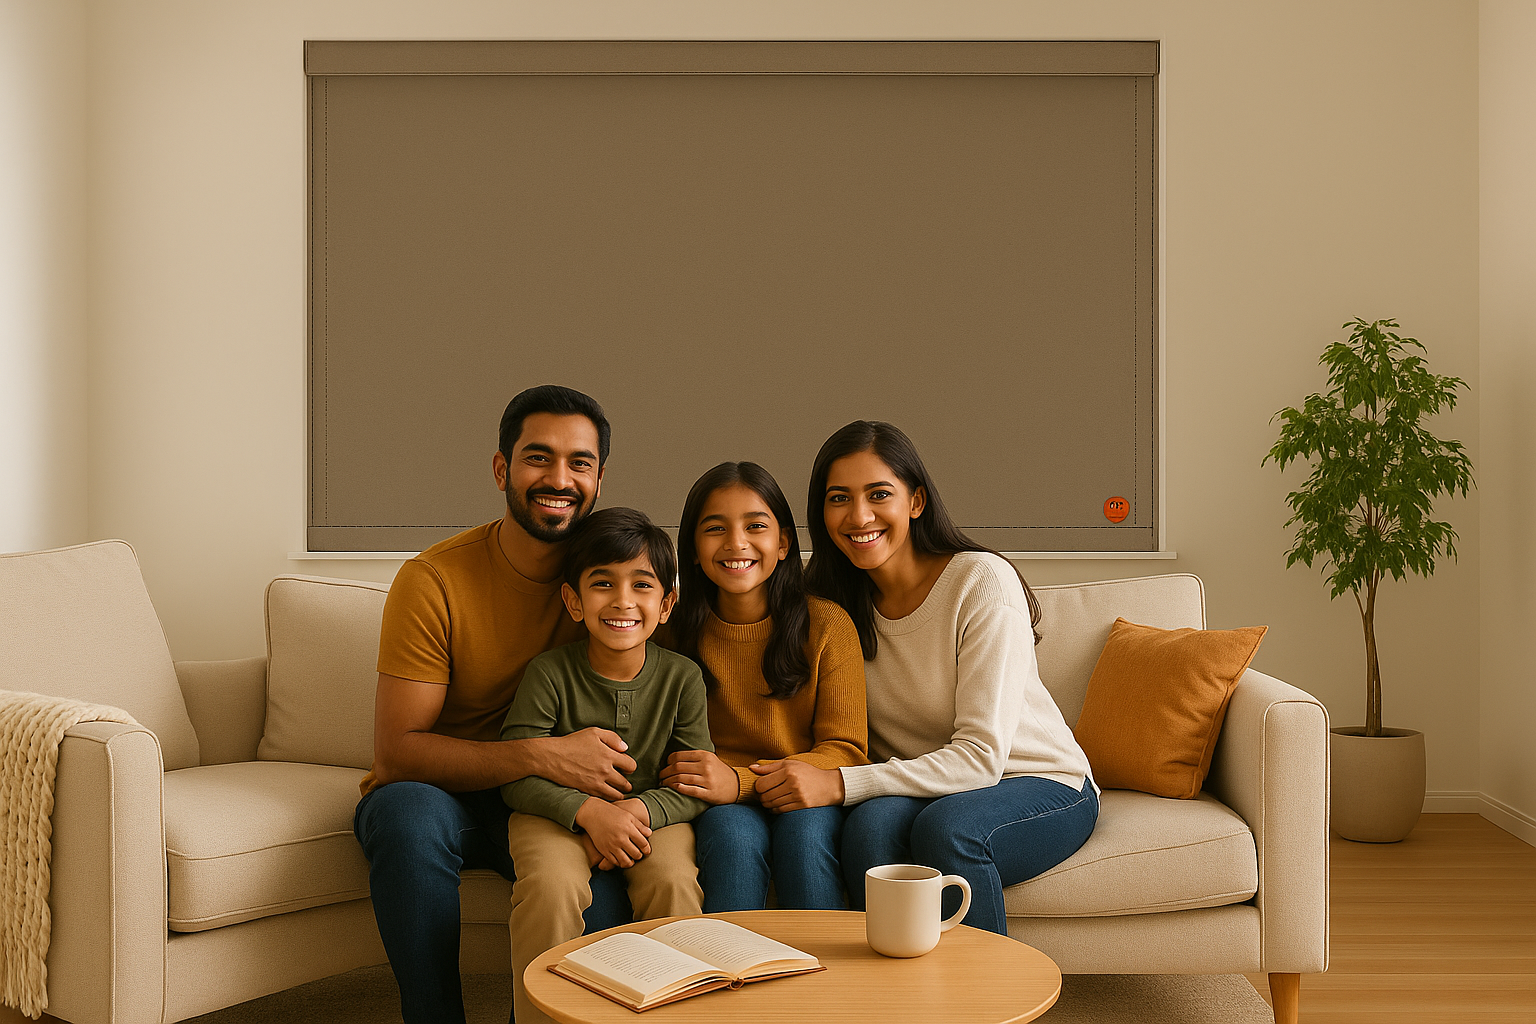
Isolation: In addition to treating the interior of your home studio, it's essential to address noise transmission from outside sources. Isolation techniques, such as installing double-glazed windows, sealing gaps in doors and walls, and using heavy curtains or soundproofing blankets, can help minimize external noise interference.
Practical Tips for Home Studio Soundproofing
-
Identify Problem Areas: Start by conducting a room analysis to identify acoustical issues such as standing waves, flutter echoes, and frequency buildup. This will help you determine the most effective placement of acoustic treatment materials.
-
Optimize Room Layout: Arrange your studio furniture and equipment strategically to minimize sound reflections and improve sound diffusion. Avoid placing speakers or microphones directly against walls or corners, as this can lead to unwanted resonance and coloration in your recordings.
-
Invest in Quality Materials: While there are budget-friendly options available, investing in high-quality acoustic treatment materials will yield better results in the long run. Choose materials with proven acoustic properties and consider consulting with an acoustics professional for personalized recommendations.
SHORT SUM UP
With the right approach to acoustic treatment, you can transform your home studio into a professional-grade recording environment. By implementing absorption panels, bass traps, diffusers, and isolation techniques, you can achieve optimal sound quality and clarity in your audio recordings. Whether you're a musician, podcaster, or content creator, mastering the art of home studio soundproofing is essential for producing professional-level audio content from the comfort of your own home.

1 Сomment