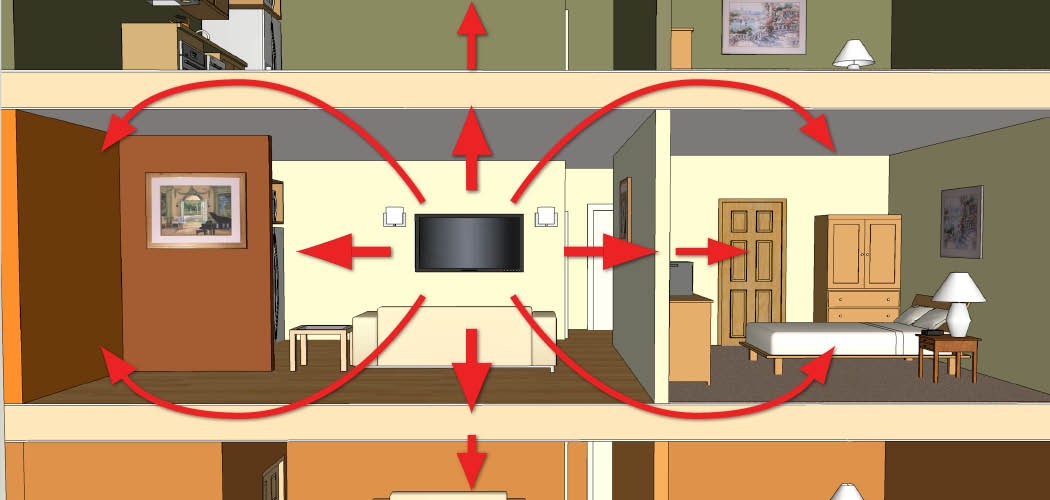
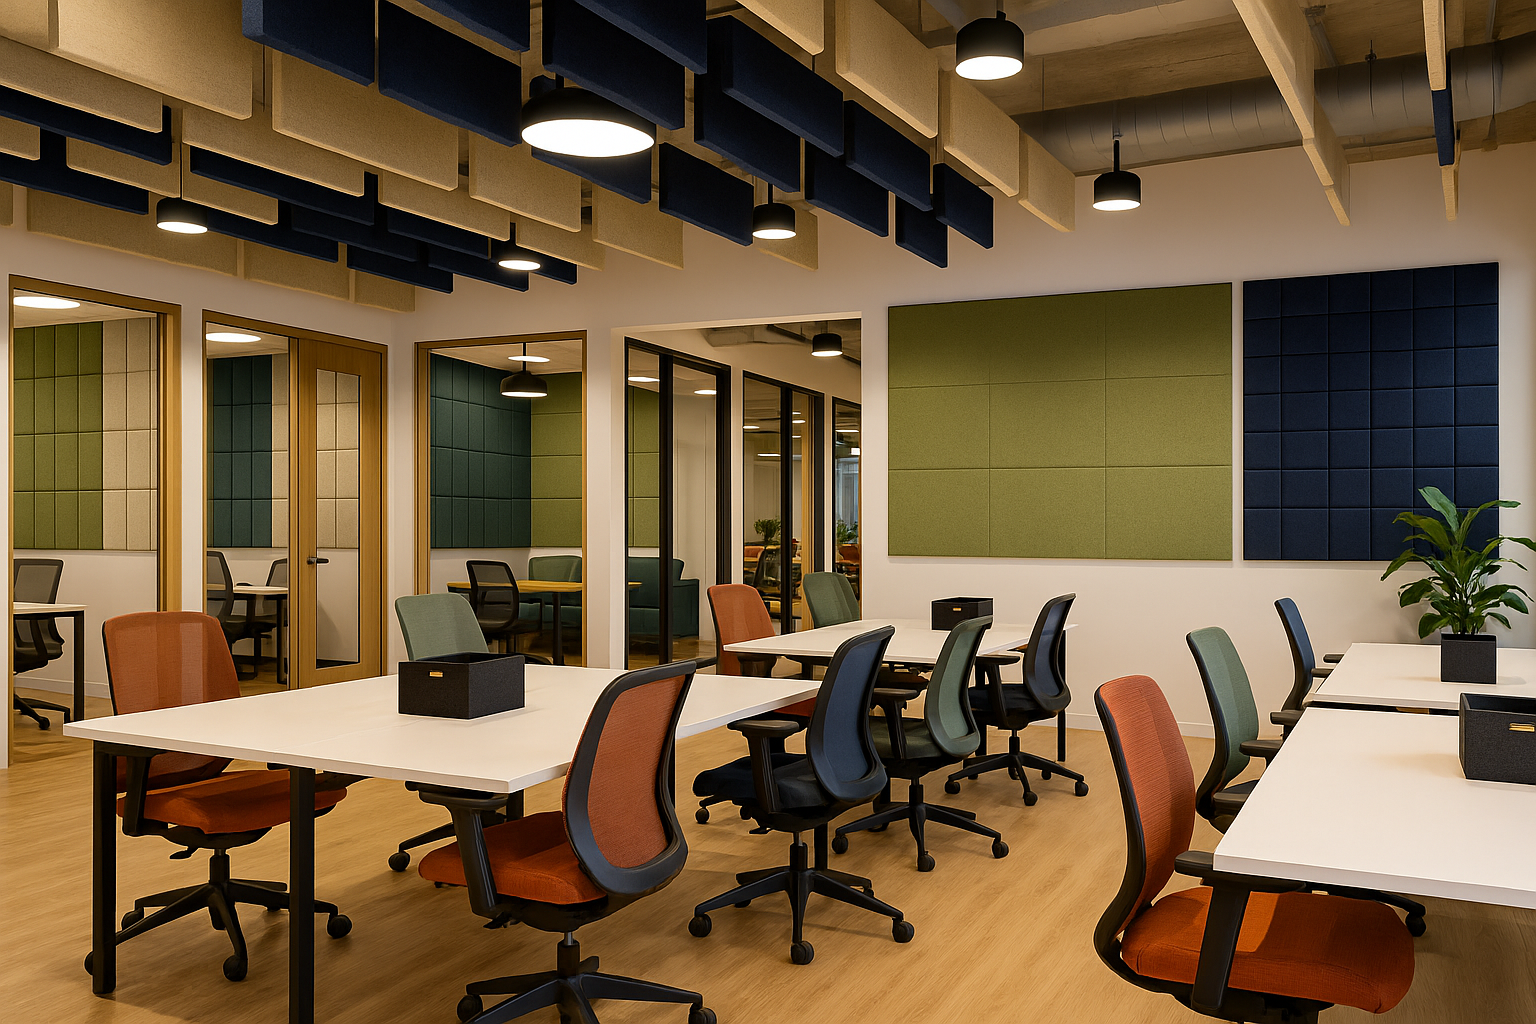
Everyone wants their home theatre to be luxurious and well equipped with best sound system, projector, screen, recliners & carpet to enjoy multiplex like experience. But most of the people forget about the indispensable element of all which is soundproofing and acoustics. The two main goals of home theatre soundproofing is isolating the theatre’s sound from rest of the house or neighborhood and producing high quality premium sound inside the home theatre.
From where does the sound leak?
In a home theatre sound levels are ranging between 70db - 95dB, with a combination of low frequency sounds( Bass ) and high frequency sounds. Controlling low frequency is the most important part of soundproofing a home theatre. It passes through your thick walls, ceiling, floors, doors and windows. For eg. If you play high volume of music in a car and stand outside with all windows closed, you might not hear the lyrics properly but the bass vibrations will be there.

How to control the sound in a home theatre?
Lets make it easy for you. To control low frequency sounds we need to add high density mass on the surface ( walls, floor, ceiling ) like SoundBlanket mass loaded vinyl or thicken you walls by brick or gypsum. To control high frequency sound waves we need to use a combination of absorbers and diffusers.
High Density Mass – High density closed cell soundproofing membrane that blocks sound with STC 36
Sound Absorbers – Open cell high density acoustic foam for sound absorption with NRC 0.90
Sound Diffusers – Shaped surface to disperse sound in different direction.
Here is a step by step guide for soundproofing and acoustic treatment of a home theatre
Steps for Soundproofing + Acoustic treatment of a home theatre with MMT Acoustix® acoustic products :
Step 1 –
Measure your wall area by using this simple formula
{Length x Height x 2} + {Breadth x Height x 2} = Wall area of the room
Length x Breadth = Ceiling Area
Length x Breadth = Floor Area
Total Room Area = Area of wall + ceiling + floor
Step 2 –
Add mass to the walls for noise isolation using SoundBlanket mass loaded vinyl in 5mm thickness on walls & 3mm thickness on ceiling and floor. Soundblanket can be easily installed on walls using MMT Acoustix spray adhesive or liquid SR Adhesive and further putting nails for final grip. Nails are not required while installing on the floors.

Note – SoundBlanket is fire retardant, moisture safe and anti termite. It has a shelf life of more than 25 years.
Step 3 -
Adding Absorbers and Diffusers ; After the installation of sound dampener, absorbers and diffusers are installed directly on layer 1.
The best sound absorbers for home theatre acoustic treatment is MMT Acoustix® CineBass Series (luxury cinema acoustics), Turbo Acoustic Foam , Groove Acoustic Foam, Boxer Acoustic Foam ( Ceiling Panel ) and SoundAxe Wooden Acoustic Panels (Diffusers).
Absorbers are placed on the first reflection points ie behind the speakers, behind the viewers back, ceiling, wall area near the speaker and listener’s ear. Absorbers covers 80% of the room and rest 20% is covered with sound diffusers.

Note – Doors and windows will be covered with Soundblanket mass loaded vinyl and acoustic foam absorbers. Windows are also covered with a 8 mm plywood for best results. For more information click here.
Step 4 –
Covering the floor with carpet till the walls.
Step 5 –
Installing the door and window seals. The MMT Acoustix® rubber door seal is a self adhesive tape with vacuum technology which blocks all the air gaps in the edges of the door. The other door seal bottom can be easily applied using nails in the bottom of the door for zero air gaps.
Step 6 –
Complete the sound system, recliner and other fit outs to experience your luxurious home theatre.
Steps for Soundproofing + Acoustic treatment of a home theatre with fabric paneling :
Step 1 –
Measure your wall area by using this simple formula ( Remains Same )
{Length x Height x 2} + {Breadth x Height x 2} = Wall area of the room
Length x Breadth = Ceiling Area
Length x Breadth = Floor Area
Total Room Area = Area of wall + ceiling + floor
Step 2 –
Add mass to the walls for noise isolation using SoundBlanket mass loaded vinyl in 5mm thickness on walls & 3mm thickness on ceiling and floor. Soundblanket can be easily installed on walls using MMT Acoustix spray adhesive or liquid SR Adhesive and further putting nails for final grip. Nails are not required while installing on the floors.
Note – SoundBlanket is fire retardant, moisture safe and anti termite. It has a shelf life of more than 25 years. This is the best replacement of rockwool/glasswool which is carcinogenic ( cancer causing )
Step 3 –
Install the wooden frame work as per the desired design.
Step 4 –
Install MMT Acoustix® Boxer Acoustic Foam on ceiling.
Step 5 –
Add MMT Acoustix® Sound Insulation Pad in 50mm inside the wooden framework
Step 6 –
Cover the framework with premium acoustic fabric.
Step 7 –
Covering the floor with carpet till the walls.
Step 8 –
Installing the door and window seals. The MMT Acoustix® rubber door seal is a self adhesive tape with vacuum technology which blocks all the air gaps in the edges of the door. The other door seal bottom can be easily applied using nails in the bottom of the door for zero air gaps.
Step 9 –
Complete the sound system, recliner and other fit outs to experience your luxurious home theatre.
Benefits of soundproofing a home theatre with MMT Acoustix® products than fabric paneling
- Professional soundproofing and acoustic treatment with lowest installation cost.
- Installation time by any local carpenter is between 6 – 12 hours.
- Aesthetically modern with 3D finished products
- Guaranteed performance and quality
- All products delivered at home within 4-5 days across India and 5-7 days in Gulf.
- Competitively prices products providing extra budget for the sound system
- One stop brand for complete soundproofing
- Customer indirectly contributing to save fuel, save water and animal welfare.


14 Сomments